Another year gone by and time for another service. I've now had the Honda for over 4 years, it's been my primary form of transport, so lots of commuting time.
The shifting seems to get a bit notchy around this time of the year but the fresh oil takes that away.
Got the service items from Honda Sandton:
Oil filter (69.25) and gasket (27.00), drain bolt washer (7.49) and new air filter (411.36).
Total of R 587,21 with VAT added.
and 2L Motul oil from closest bike store. (Needs 1.5L with a new filter so there's a bit left over)
Started with a good wash to make sure no dirt was anywhere around the drain bolt, oil filter housing or oil refill cap. Went for a quick ride to remove any standing water and warm up the oil. Drained the oil, replaced the oil filter and topped up with some fresh oil. Then took off the seat and right side plastics, cleaned out the airbox and replaced the air filter. Lubed the chain, cleaned out the crankcase breather and checked the coolant level and brake pads front and rear. Should be good to go for a bit longer.
Air filter new and old:
The shifting is much smoother and the little Honda is back in duty and running well again. the savings compared to taking it Honda Sandton for the service last year was well worth the effort and at least I know that basics like brake pads were actually checked this time.
It's that time of the year again so I booked in the little Honda CRF250L at Honda Sandton for it's 3rd annual service. They gave it a "major service", which was all filters, oil and new brake fluid. Nothing out the ordinary and the bill came to a rather high, just over R3000!
The air filter wasn't in stock so I have to go back to have it fitted. Good thing as Honda Sandton didn't put the seat on properly or the right side plastic so they get to sort those out when I'm there. More disturbingly, despite the brakes being a checked item on the invoice (something I'd expect to be checked every service), they were extremely worn and not seen or mentioned. I replaced them myself, these are the ones I took out:
There is no way they'd last until another service so good thing I actually check them rather than relying on the dealership.
Other than that it's been 17482km of trouble free riding (mostly commuting) so far, with only wear and tear items so the little Honda has been a reliable little bike so far.
The tyres on the little crf250l were getting rather worn so I got some new ones a few months ago. The old ones (bearing in mind these have around 15000km's on them):
and the new Metzeler Enduro 3 Sahara's:
The ride home was interesting, I wasn't thinking about the slippery new rubber and gave it some throttle too soon around a corner and the resultant rear stepping out gave me a quick reminder! A few months later I'm really happy with them, they've performed well in the wet - much better than the stock tyres - and the dry has been great as well. We'll see how they hold out in terms of wear but the extra grip especially in the rain has been well worth it.
It's rain season here so I've had to do a few rain rides on my daily commute which means very gentle throttle use. The little Honda keeps on ticking over without any issues. I've sold my car so it is at the moment my only transport and it's coping just fine as always.
It's also the season of load shedding. Our government provider, Eskom, seems unable to plan for the future and the economy/country as a whole is plunged into darkness on a regular basis, despite serious increases in electricity tariffs and bosses being paid massive bonuses. This means traffic is often a nightmare, luckily being on a bike I've managed to avoid any serious delays and my +- 20 minute has remained constant whereas there's been a good few days where I would have been stuck in my car for over an hour.
Hopefully I'll have a wash day shortly with some pics.
A detailed installation guide for installing the DRC edge2 tail light and DRC 602 indicators.
We'll start with tail light.
Remove the seat and side plastics.
I got the wiring plug so I'll be using that in this example.
Unplug the connector and undo all the bolts holding the tail light so it can be removed.
I added the indicators to the new tail light, next we connect the supplied oem connector. I used some crocodile clips to make sure the wiring was correct before proceeding.
This came with the connector but just in case:
Black: Ground
Yellow: Running light
Red: Brake signal
Blue: Right turn signal
White: Left turn signal
You'll notice the indicators flash at high speed, this will be sorted out when we install the fixed rate flasher but for now we're good. I elected to solder the wires in place but you do get a lot of connectors in the kit should you wish to use them.
And all installed
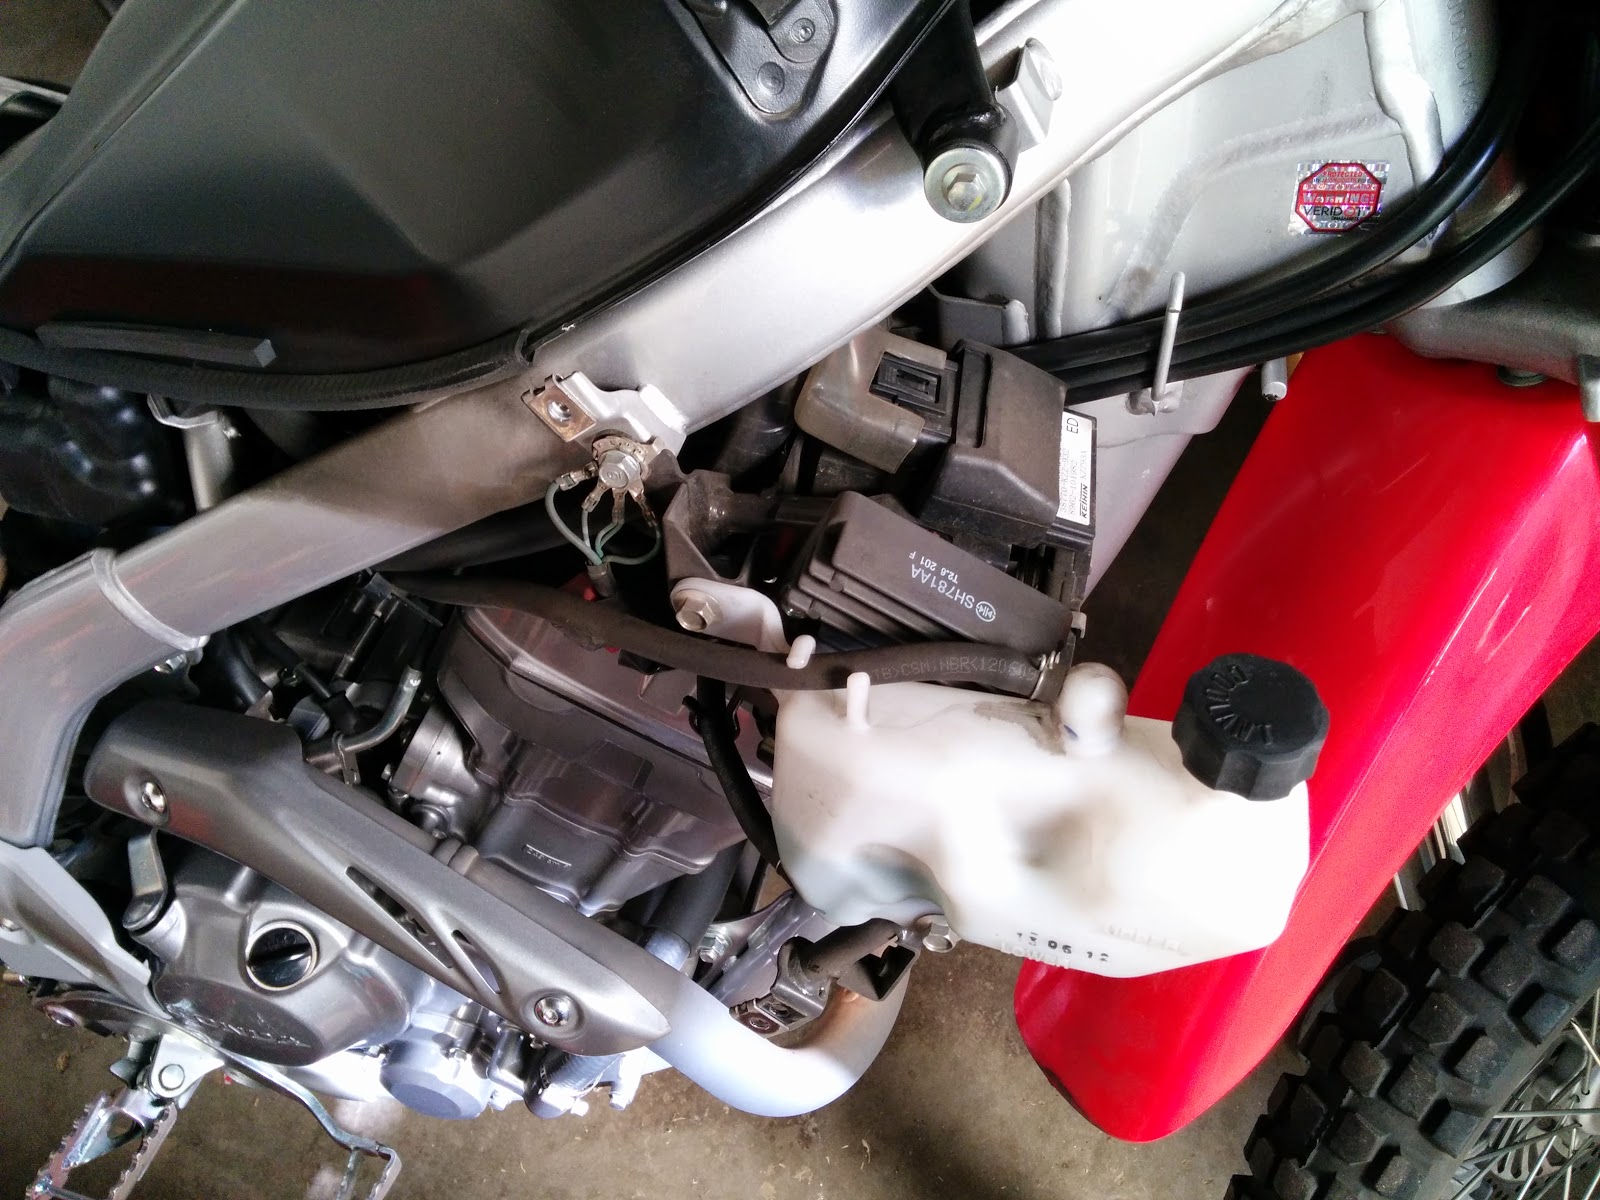
Next we move to the fixed rate flasher. Remove the right hand shroud.
The part behind the water bottle unplugs at the bottom
You can remove the stock one form its position. It's held on by some sort of elastic rubber band, so it's a little tough, but it does come off. Fixed rate flasher plugged in:
Sadly this doesn't fit in a nice secure manner like the original but it'll be held in place by the shroud.
Now's a good time to test those lights again, they should be flicking at normal rate now. Next we loosen the headlight, there are 4 bolts two on each side to do that
I unclipped the two indicators and removed them
Next up I cut the wires so I could attach the new connectors, of course I used some crocodile clips to make sure I had the right wiring
Next up I removed the upper fork clamps and put the brackets in place to hold the new inidicators and re-tightened them.
Then it was a case of trimming wires to the correct length and hooking everything up. You can put on the plastics again and move on to the last task, the number/licence plate holder.
Mine was rather large and I couldn't get it to fit nicely without filing down the top frame of the holder. One done it fits beautifully and looks so much better than the stock setup.
After my recent broken left rear indicator housing and the nice big quote from Honda Sandton an alternative needed to be sourced. I did some research and settled on the DRC Edge 2 tail light and DRC 602 indicators. I decided to go LED 602 on the front as well so there's the same consistent look front to back. I'm very happy with the results. From:
To:
Which looks a million times better. I took quite a few pics so when I get some more time, I'll throw together a detailed guide.
I walked out to the little Honda CRF250L ready for the commute to work only to find my rear left indicator hanging from my bike.
On closer inspection it looks like the housing broke somehow, I may have knocked it getting on the bike but it's clearly not a strong point on the bike.
I'm not sure how this happened but I've temporarily fastened it with a cable tie.
I took a drive to Honda Sandton this morning, to see what a new one would cost. I need to purchase the entire unit, just the housing isn't available, but it's over R900 which seems like a lot of cash for something with clearly isn't designed to last.
I'm going to be investigating some LED indicators with the hopes of being able to ship them here cheaply will report back with my decision.